Search
Search
Search
Through a post published on their official Facebook page, Mythic Games reminds players for a few minutes that the 2nd round of the campaign Kickstarter dedicated to...
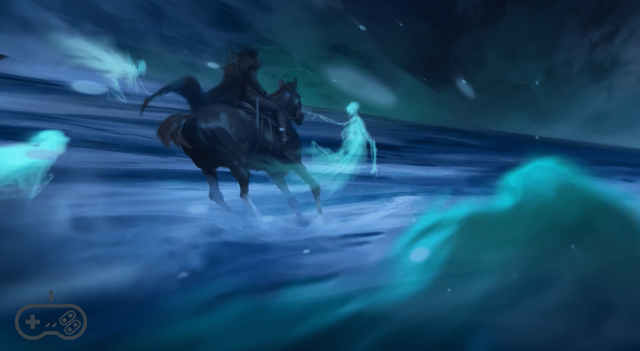
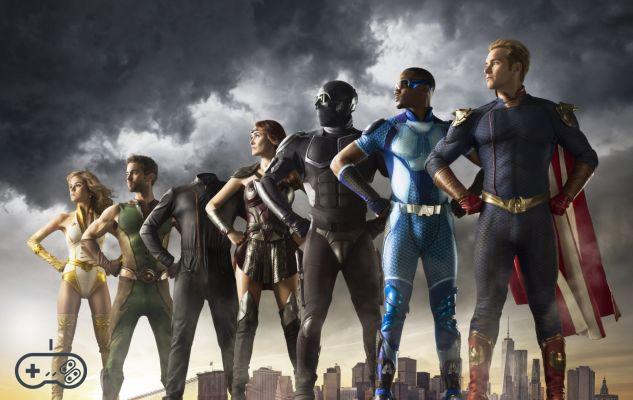
Given the huge success of the comics and the television adaptation on Prime Video di Amazon, in the past few days Dynamite Entertainment announced that G is...

It's been a few years now since Marc Forster was chosen by Walt Disney to direct the live action adaptation of one of the US entertainment house's...


How to Connect Huawei to PC - Complete Guide. If you own an Android smartphone or tablet made by Huawei and want a way to connect...


Ubisoft has published a new video dedicated to...
![]() Sitemap 2025 / 2020dodgeram.com
Sitemap 2025 / 2020dodgeram.com ![]()
![]()
![]()


![[Download] Magisk v21.0 - Support for Android 11, Magisk Manager redesigned](/images/posts/f0504d7bfffc830777464faea4f3c50b-0.jpg)


![Fallout 4: How to Start Nuka World DLC Missions [PS4 - Xbox One - PC]](/images/posts/34bb87370589e533a140260aa644039d-0.jpg)
![Wolfenstein The New Order - Trophy List + Secret Trophies [PS3-PS4]](/images/posts/ac31bf6d66063e6b7530f0dc89d673b6-0.jpg)

![Skyrim - How to get married [wedding guide]](/images/posts/536f52978769b6522a19382d29765e0b-0.jpg)