- screenshot entered our lives, and in fact all the operating systems, with varying degrees of features, come with one native tool to make them. But maybe not everyone knows what they are, or how activate them with a click without digging into the menus or applications of your computer. In this article, we will therefore explain how take screenshots, save them and even make annotations, on computer Windows, HP, Lenovo o ASUS that it is, and also on Mac devices. You may also be interested in this guide on how to speed up your Windows PC.
- Windows
- Print screen key
- Snipping tool
- Xbox game bar
- Picpick
- ShareX
- HP
- Lenovo
- ASUS
- Mac
How to screenshot su Windows
Windows has several screen capture tools, from those more basic to those more advanced. Then there are gods programs particularly useful, of course free. Here are the various options available to you, which deepen those already illustrated in this guide.
Print Screen key
Put your computer Windows (from Windows 8 and up) are equipped with a tool that allows you to take a quick screenshot using a simple key combination. The function is especially comfortable because it allows you to to acquire immediately everything that is shown at that moment on the screen without having to perform other actions.
To do this, just press the keys simultaneously Win (the one with the symbol of Windows) is Stamp (also called Prt Scr o Print Screen).
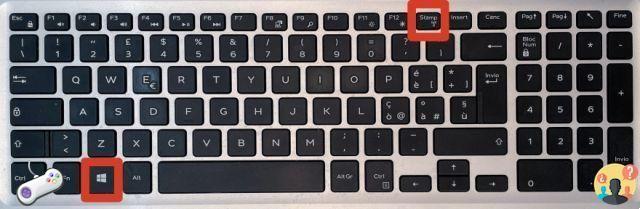
For some computers the key combination may be slightly different: if the one above doesn't work, try it
- Win + Ctrl + Stamp
- Win + Fn + Stamp
or, for 2-in-1 tablets and laptops,
- Win + volume down key
The screenshots will be saved as PNG files in the folder Images / Screenshots of Windows.
If you want to change the destination folder:
- click right-click or touchpad on the folder Screenshots
- on the menu that appears, select "Property"
- click on the tab Route
- Click Move
- choose the new destination folder
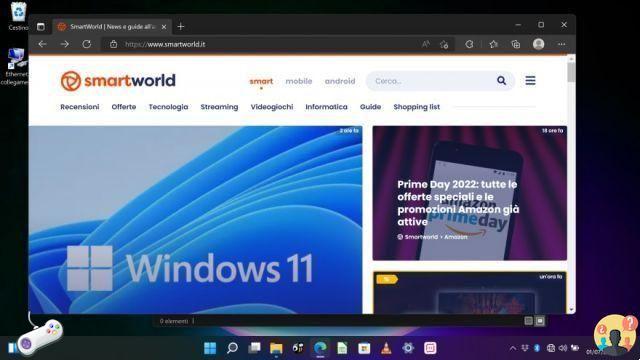
If you don't want to save it screenshot and you are in a hurry, you can just press the button Stamp. This will copy the screen to the notes, and you can paste it (using the key combination Ctrl + V) in mails, messages, photo editing tools or others.
Snipping tool
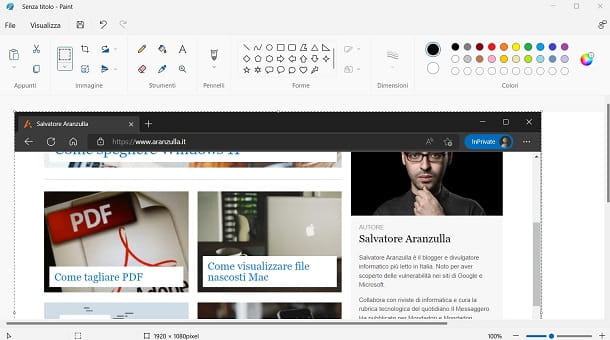
Windows 10 is equipped with one Snipping tool quite advanced which unfortunately in Windows 11 has been greatly simplified, but they work the same way. Here we will describe that of Windows 11, but the activation methods are the same (although there are between the two differences, as we will see later):
- through a convenient combination of keys: Win + Maiusc + S
- starting the program from Start:
- click sul tasto Win
- write "Snipping Tool"
- click on the program icon
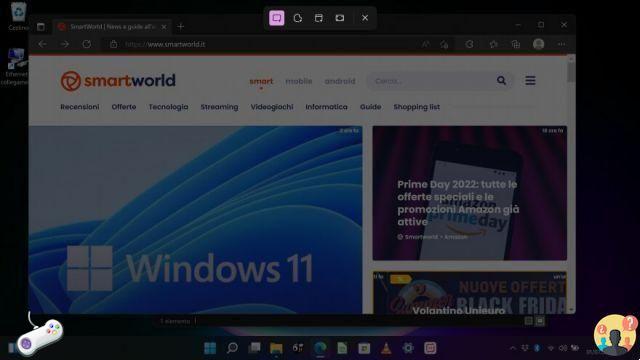
If you used the key combination, your screen will be overshadowed and above they will be proposed to you four choices:
- rectangular selection
- freehand selection
- single window
- full screen
Once you have decided what kind of screenshot fare
- select the corresponding icon
- for selections yes click with the left button mouse in a corner of the part of the screen you want to capture and drag the cursor until it is completed

If instead you have activated the Snip tool via app, you will have a window with three tabs:
- "New", to start capturing
- "Rectangle" (with a drop-down menu), to choose selection types as above (rectangle, freehand, window, full screen)
- "No delays" (with a drop-down menu), to set a timer after which the screenshot will be taken automatically.
After making it screenshot
- You to write of the notes, put some arrows or something
- Save him by clicking on the floppy disk icon.
If you want to use the "Stamp" to launch the Snipping Tool, do the following (Windows 11):
- Go nlle settings by clicking on the button Home and then selecting Settings.
- Select Accessibility > Keyboard.
- search "Use the Print Screen button to open the Snipping Tool" and activate it.
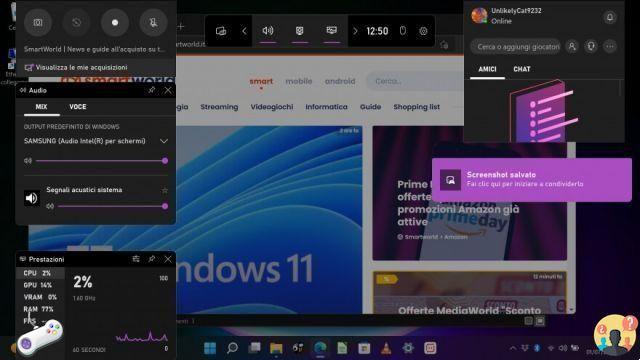
Xbox Game Bar (Windows 11)
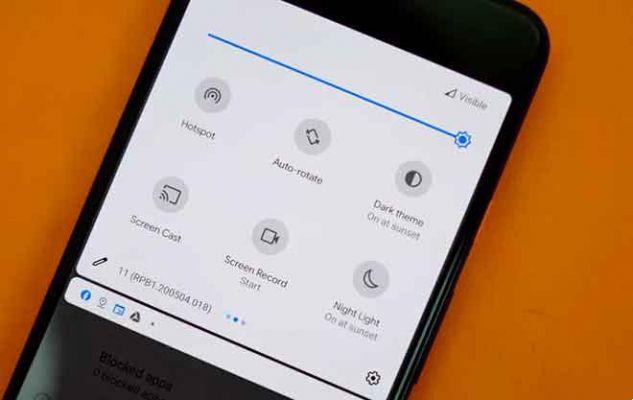
Maybe not play, But the Xbox game bar it is nevertheless a tool very useful to make screenshot e Recordings screen.
Here's how to use it:
- Press the combination Win+G on the keyboard
- They will appear one series of windows. At the top left you will see a series of icons including one that shows a camera
- The icons indicate four possibilities:
- screenshot
- to record the last 30 seconds
- start recording
- turn the microphone on or off while recording
- The feature does not record the Windows desktop or Windows Explorer
- After carried the screenshot, click on the window and save him o share it
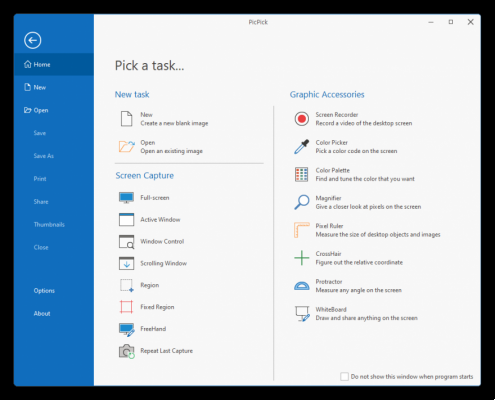
Picpick
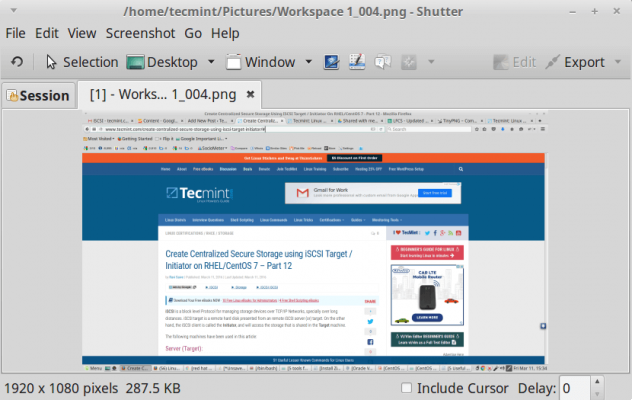
We would have recommended Greenshot, but it's not updated since 2017, so the first choice is Picpick, an excellent program of screenshot for those who need more features. AND price quotation for personal use and has an interface quite similar to Microsoft Office apps. Its features include:
- scroll window to capture long web pages at once
- option Exact dimensions (Fixed Region) to get screens of exact size.
PicPick has a great image editor, which includes quick access to pixelization, To filigree, contrast adjustment and more.
The instrument Stamps lets you quickly add arrows, icons, and numbered bubbles to illustrate your steps. Obviously they can be added highlights, text e forms in any color, and as if that weren't enough you can work on multiple images thanks to the tabs.
There is also a version a payment but for most people the version is enough Delivery to Italy takes one or two business days. One of the best outstanding programs, if you are interested, download it from here.
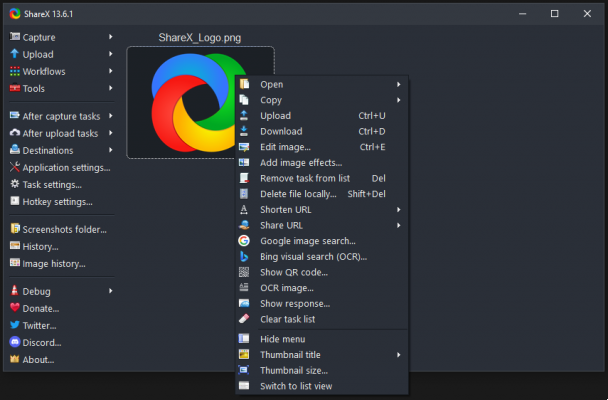
ShareX
You love each other screenshot tool that does practically everything, ShareX is the best program available for Windows. AND completely free , open source and offers an impressive suite of features that should please everyone.
In addition to the usual capture modes, you can choose any app window (or monitor) from a list to capture it instantly. ShareX also allows you to record screen easily format GIF, and has a function of scroll capture come PicPick.
How to screenshot su computer HP
Most HP laptop has a key "Print screen" on the keyboard, right next to the Clear key or the Power off key. As described above:
- can be use alone to copy the screenshot to the clipboard
- in combination with the Win key to save the screenshot in the Pictures/Screenshots folder
To start it Snip tool, you can do as described above.
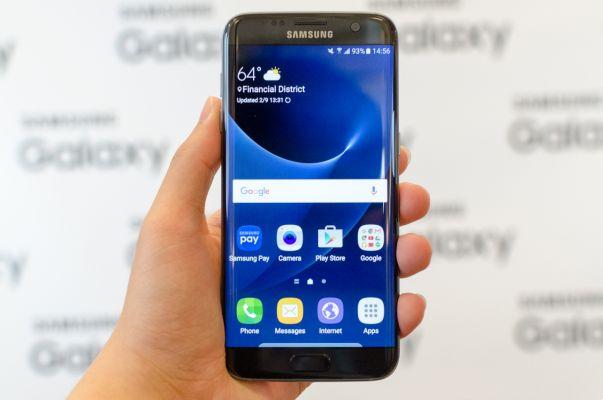
How to screenshot su computer Lenovo
To take a screenshot on a computer Lenovo, you can use one of the following methods:
- Press the button "Stamp" up alone to save the screenshot to the clipboard
- Press the button win+stamp to save the screenshot in Pictures/Screenshots
- hold down the key Win
- a will appear sidebar on the right side of the screen
- selected Screen Sketch
- you can make the changes desired
- Saved the image
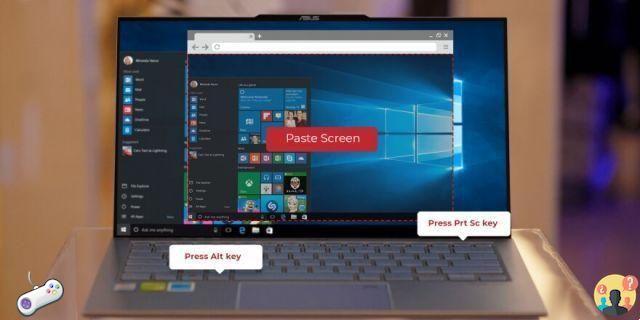
How to screenshot su computer ASUS
For ASUS computers, the same rules apply as for other Windows PCs, plus one more:
- Press the "Stamp" to copy the screenshot to the clipboard
- Press Alt + Stamp to copy the active window to the clipboard
- Press win+stamp to save the screen to the clipboard
For other options like Snip tool, the same rules apply as for other Windows computers.
How to take screenshots on Mac
Let's get to computers Mac, which like its Windows counterparts have several options for taking screenshots, which we had already seen in this guide.
Keyboard shortcut
The included tool allows three options through keyboard combinations:
- full screen: cmd+shift+3
- window: cmd + shift + 5, move the cursor to the window and press spacebar
- screen portion: cmd+shift + 4 and then select the area you want to save
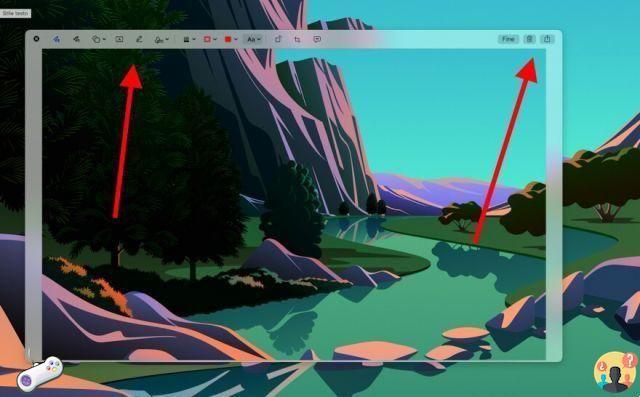
In all cases, one will open window at the bottom right which if clicked will allow you to make some changes like writing, highlighting, annotating, sharing or deleting the image. If the picture does not come railing (trash can icon at the top right), it will be saved automatically on the desktop. To close the window, press the "Finish" button at the top right.
Screenshot
I Mac they also have a dedicated program called Screenshot. You can search for it in Launchpad or activate it with the key combination
- cmd + shift + 5
At the bottom there will be options that will allow you to:
- to catch the whole screen
- to catch a window
- catch one portion
- to record the whole screen
- record a portion of the screen
- button "options", which allows you to
- include the pointer
- to exhibit la miniature floating after capture
- set a timer to delay capture
- button "Acquire" to take the screenshot
Skitch
If the native functions weren't enough, Skitch of Evernote is a fantastic one Whatsapp to take screenshots on Mac.
Like the native app, it offers the ability to capture screens yes one area selected, screen whole, window, timers and more. There is also the camera mode that lets you take selfies with your Mac's webcam.
I more points strengths of Skitch are in the post-acquisition phase, with unique features such as adding arrows, lines, shapes, Captions, pixel e lights on the screen. Once the app is launched, you can take a screenshot using key combinations or on the button Screenshot in the program window.
Images can be saved in eight different formats and share them, while if you are an Evernote user you can upload them to the company's server for access on other platforms. You can find it on the App Store.
Monosnap
Many will say that Skitch is the best screenshot app on Mac. Maybe, but Monosnap is probably the most complete and flexible. It doesn't have the most eye-catching graphics on the market, but it does have some key features for anyone who works a lot with screenshots:
- (obviously) lets to catch and change screens (with one click) or portions of your choice
- allows you to capture not only images, but also .mp4 and, above all, . Gif
- allows you to customize shortcuts to operate the various functions
- large choice of post-capture edits
All of these features, in one free package, make it Monosnap winning.
There are many other features in the free version, such as the cloud (2 GB), and for those who want more there is the paid version for non-business users that unlocks more space as well as integration with Evernote, Dropbox and Google Drive. The version base is really complete and should be enough for most.


![How to take screenshots in VLC Media Player [VLC Screenshot]](/images/posts/6eafb8276f333452aded7f0cb49efa41-0.jpg)